Harness the Sun: A Beginner's Guide to Building a DIY Solar Panel
Want to power your small devices with the sun's energy? Building your own solar panel is easier than you think! This guide provides a step-by-step approach, perfect for beginners eager to explore renewable energy. While the resulting panel might not be as efficient as commercially produced ones, it's a fantastic learning experience and a rewarding project. Let's get started!

Gathering Your Supplies: The Essential Ingredients
Before diving into the construction, you'll need to gather the necessary components. Finding these materials may require some searching at electronics stores, online retailers, or even upcycling old electronics. Remember to prioritize safety when handling any electronic components. Always disconnect any power source before working with wires and components.

Essential Components:
- Solar Cells: These are the heart of your panel. You can find these online, often sold in various sizes and quantities. The more cells you use, the more power your panel will generate.
- Solder: You'll use this to connect the solar cells together. Choose a solder that's appropriate for electronic components.
- Soldering Iron and Accessories: A soldering iron with a fine tip is crucial for precise connections. Remember to use a solder sucker or braid to remove excess solder if needed.
- Wire: Use appropriately sized and insulated wire to connect the cells and lead to your output.
- Encapsulant: This will protect your solar cells from the elements. Consider using a clear, UV-resistant resin or sealant designed for outdoor use.
- Substrate: A sturdy base to mount the solar cells. Some people use a piece of plywood or acrylic sheet.
- Diodes (Optional): Blocking diodes can help prevent current from flowing back into the panel at night.
- Frame (Optional): A frame will add durability and protection to your finished solar panel.
Constructing Your Solar Panel: A Step-by-Step Guide
With your supplies ready, we can start building. This is where precision and patience come into play. Take your time and double-check your connections to ensure optimal performance.
Connecting the Solar Cells:
Carefully solder the positive (+) terminal of one solar cell to the negative (-) terminal of the next. Continue this process to connect all cells in a series. Remember to use the right amount of solder and to ensure strong, clean connections. Avoid overheating the cells during this process.
Encapsulation and Protection:
Once the cells are connected, neatly arrange them on your substrate. Carefully apply the encapsulant, ensuring all cells are fully covered and there are no air bubbles trapped inside. Allow the encapsulant to cure completely according to the manufacturer's instructions. This step is crucial for protecting your panel from moisture and damage.
Final Assembly:
After the encapsulant has cured, you can add a frame for extra protection and durability. Connect the positive and negative leads from your cell assembly to appropriately sized wires. If using diodes, connect them in parallel with the solar cells to prevent backflow of current. Your DIY solar panel is now ready for testing!
Testing and Using Your Homemade Solar Panel
Connect your solar panel to a multimeter to check its voltage and current output. The exact output will depend on the number and type of solar cells used, as well as the sunlight intensity. Remember to test in direct sunlight for optimal results. You can then use the panel to charge small devices like phones or portable batteries.
Building a solar panel is a rewarding journey into renewable energy. While this guide offers a simplified approach, remember that the efficiency and durability of your panel will depend on the quality of components and the precision of your construction. Enjoy the process and the clean energy you generate!


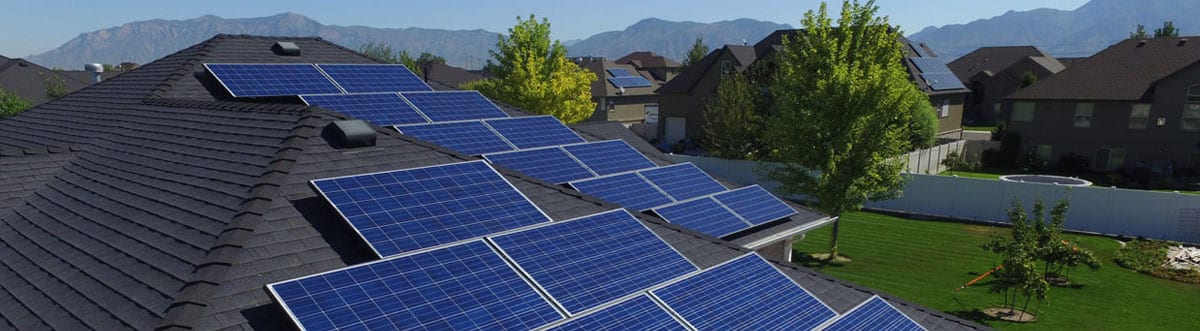


 Finally finished my 10kW DIY grid tie solar system : SolarDIY
 DIY 3Kw Home Solar - Grid Tie - Final Installation Overview #
  Grid-Tie Solar Panel Systems Micro Inverter Solar Power Complete Grid
  Amazon Solis 4kW Grid Tie DIY Solar Panel System Kit 4000W Solar Kits
 Solar Grid Tie Solution Alligator Solar
 DIY Grid-Tie ~16.5kW Solar Kit x54 305W 60 cell panels + Wifi Inverter
  Solar Energy Simple Home Solar DIY Grid Tie Solar Panels - YouTube
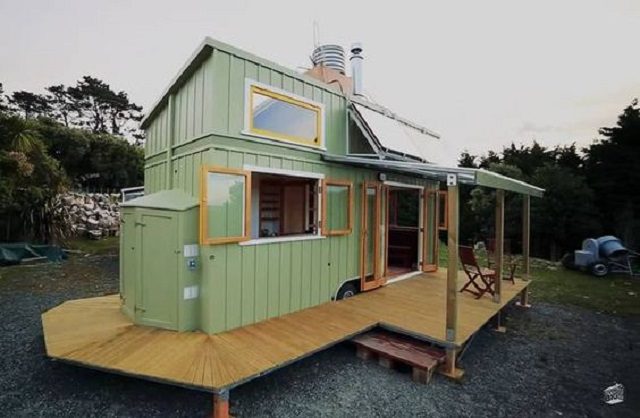


 Living Off-Grid in Her Tiny House in Northern Canada Off grid tiny
  8 tiny homes built tough for off-grid living
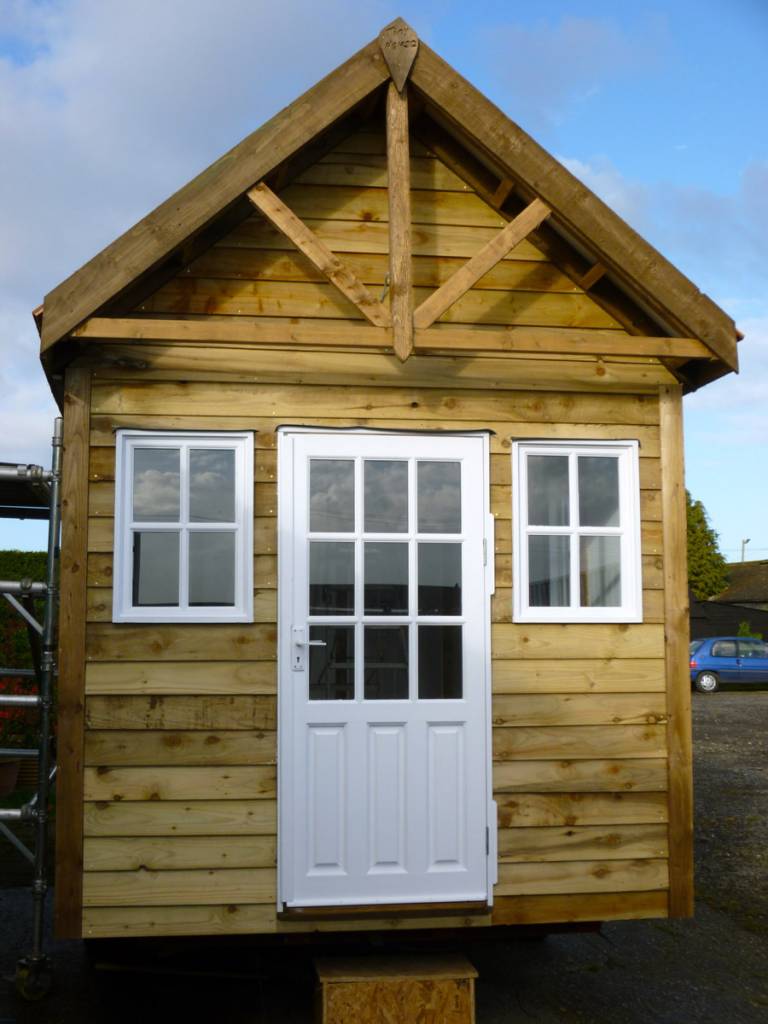 Off Grid Solar Powered Tiny House is Completely Self Sufficient "Out-Of
 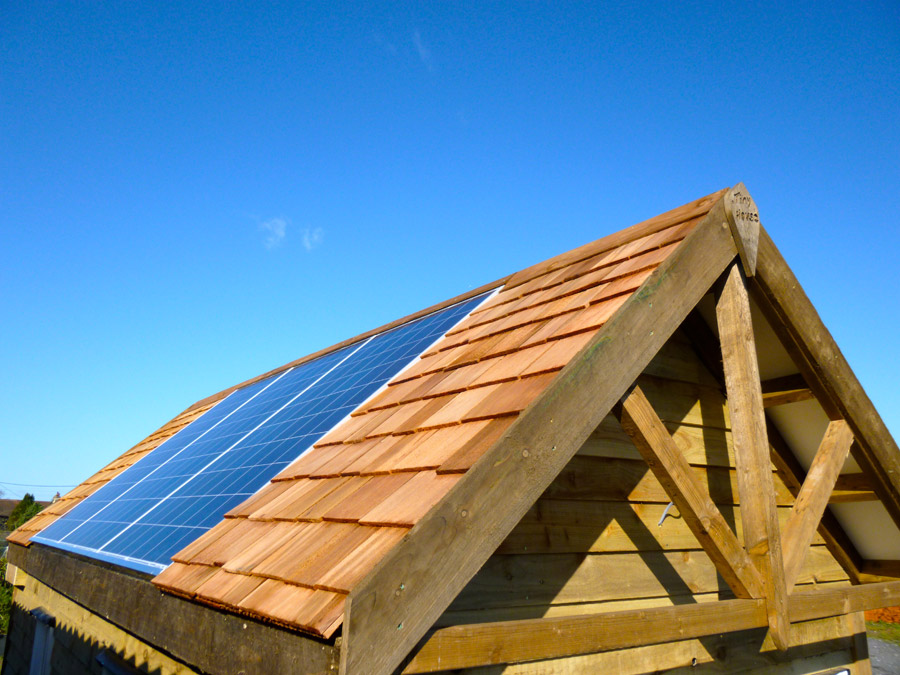 Off Grid Solar Powered Tiny House is Completely Self Sufficient "Out-Of
  $10,000 Off-The-Grid Tiny House With HUGE Solar System - YouTube
 32-foot off-grid tiny house w/ solar system FOR SALE
 Amazing off-grid Tiny Solar House travels across the U.S.
 $10k DIY Off Grid Solar Tiny House


 Solar System Mobile Solar system mobile, Diy solar system, Space crafts
 1Pc Solar System Celestial Bodies Planets Planetarium Model Kits
 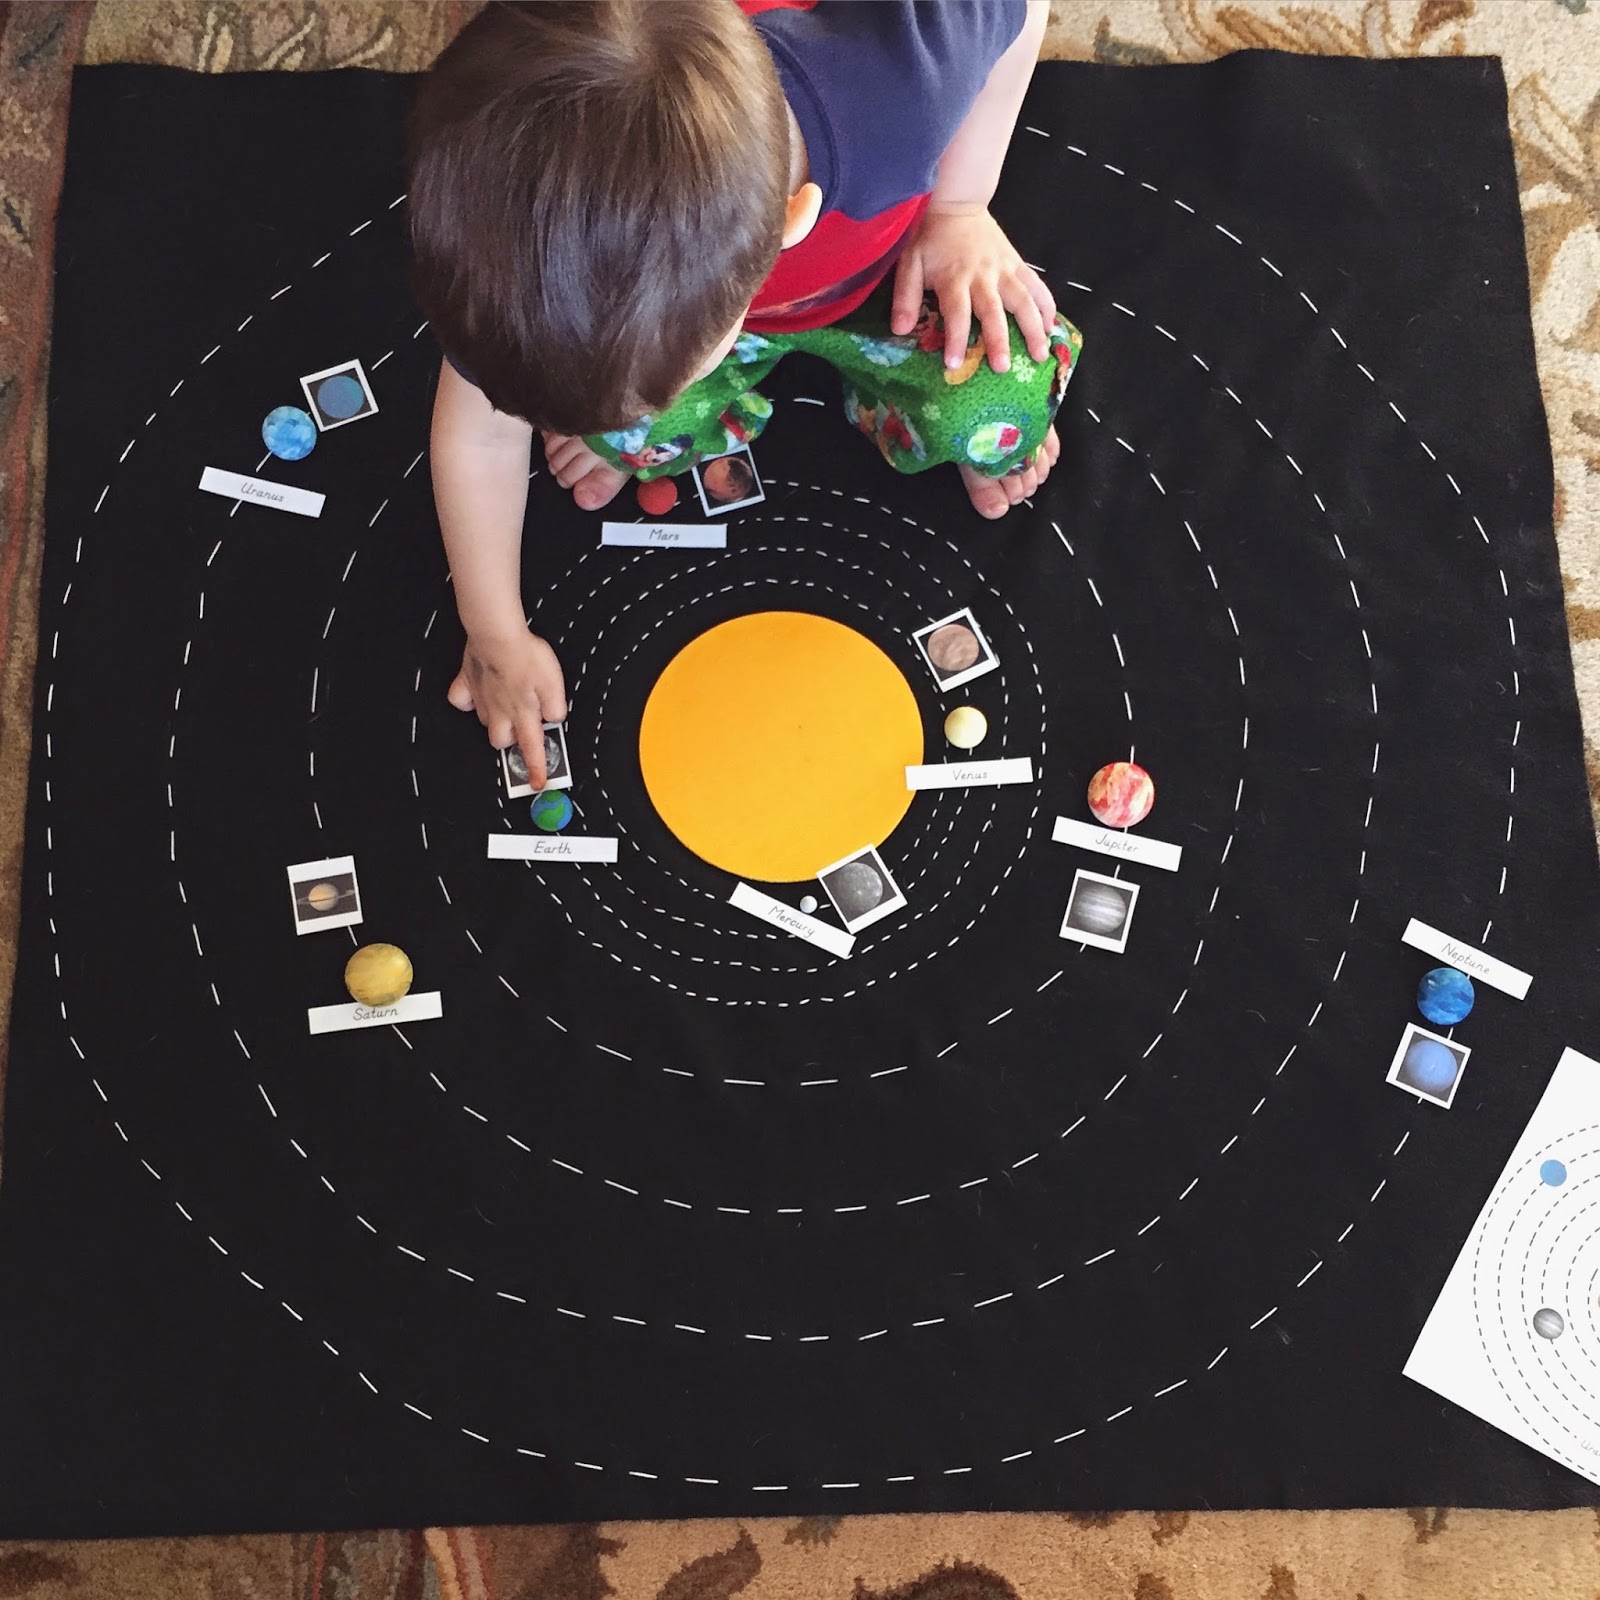 DIY Solar System Map with Free Printables
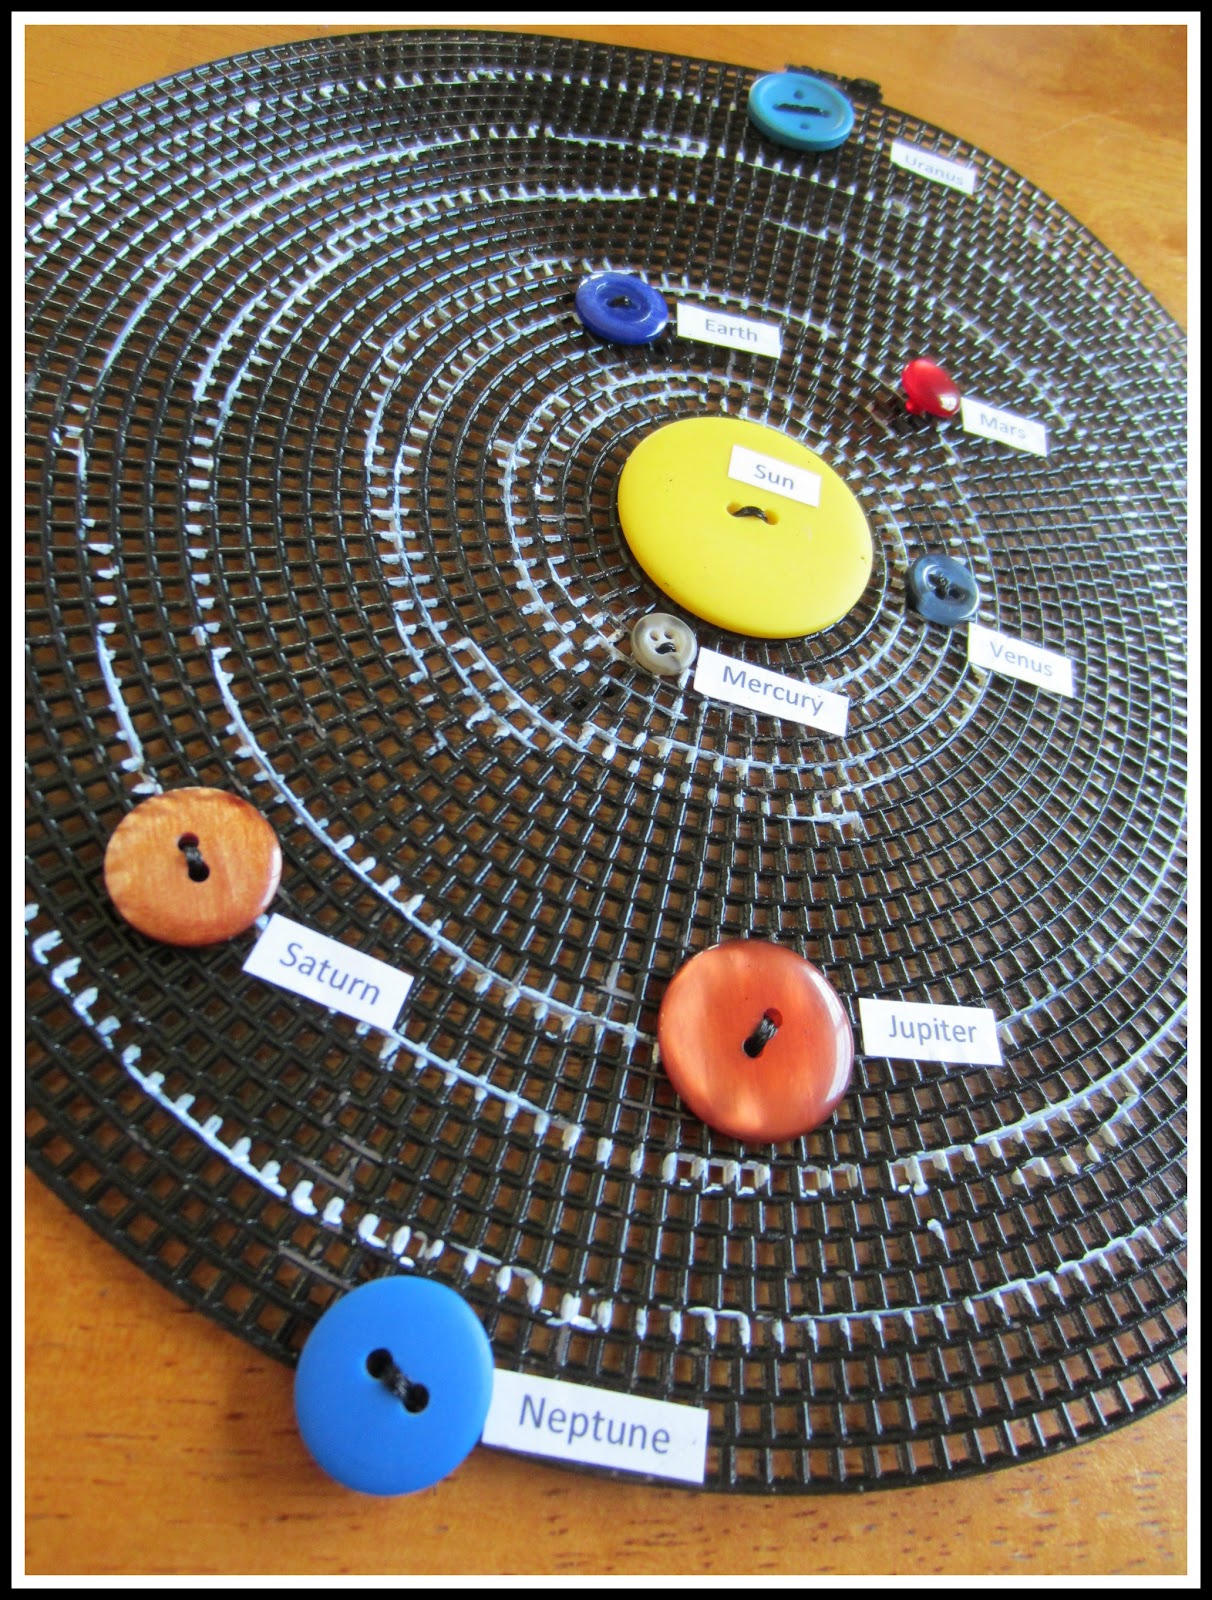 Relentlessly Fun, Deceptively Educational: Solar System with Button Planets
 DIY Solar System for Kindergarten school project Istruzione
 Solar system model hanging, Solar system mobile, Sun and planets model
 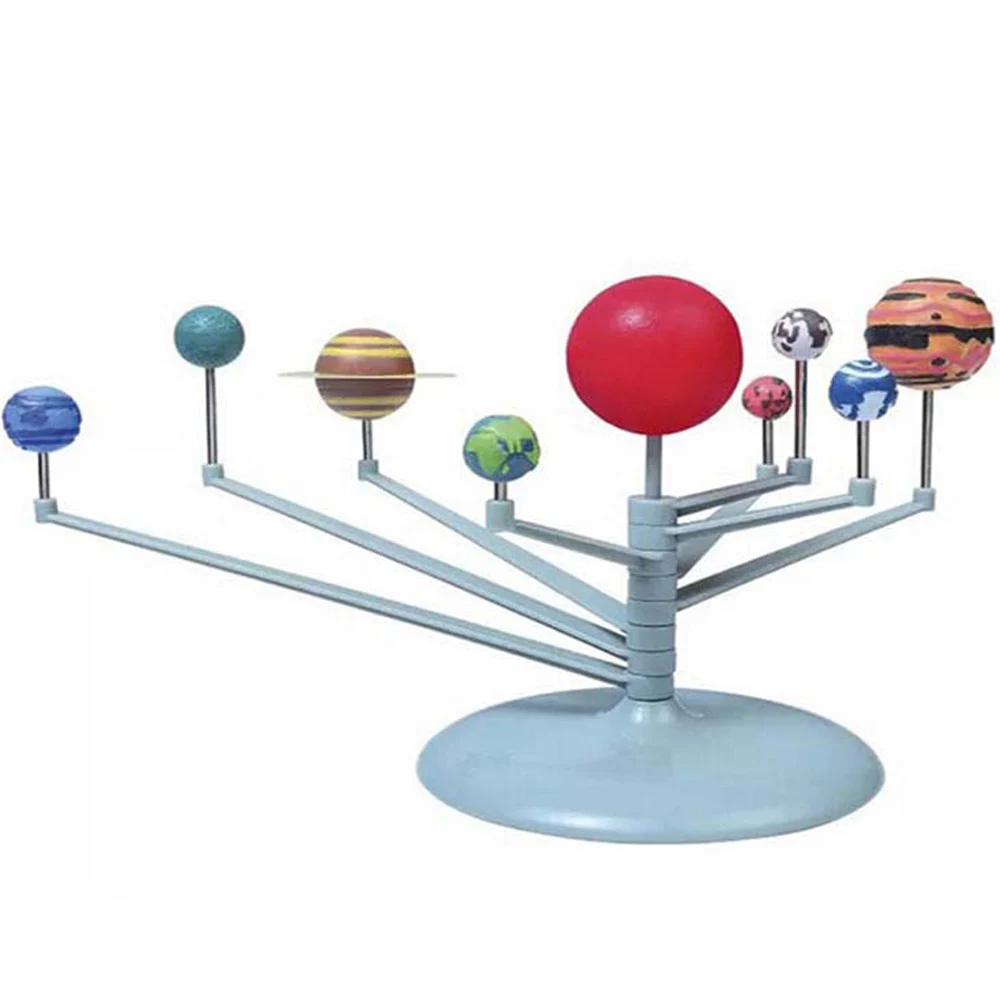 Solar System Planetarium Model Kit Astronomy Science Project DIY Kids


 Solar Patio Cover Solar patio, Solar panels roof, Solar pergola
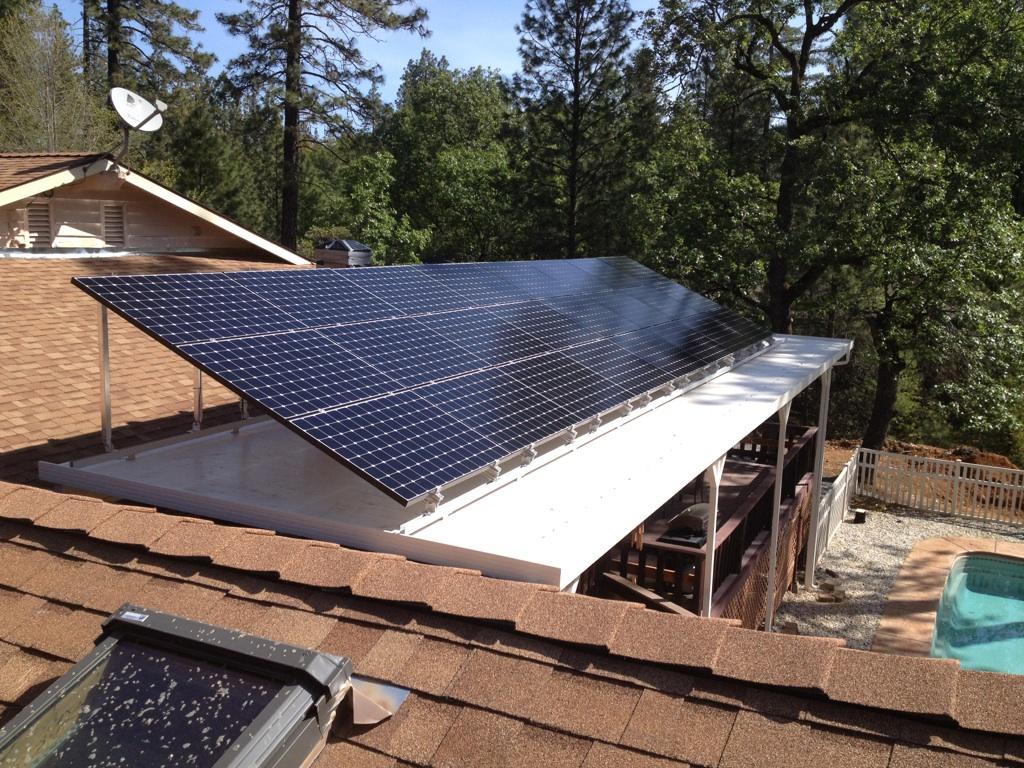 Solar Patio Covers 916-718-2046, Solar Pergolas, Freestanding or
  How to Build the Ultimate DIY Solar Panel Ground Mount - YouTube
 Solar Patio Cover Installation - Fresno Solar Patio Covers
 SolarScapes Solar patio, Solar pergola, Solar panels roof
 Pergola for solar panelsneat! Solar panels, Solar pergola, Best
  San Diego Solar Patio Cover Solar patio, Solar pergola, Solar panels
 Solar panel patio cover AZ House Pinterest